
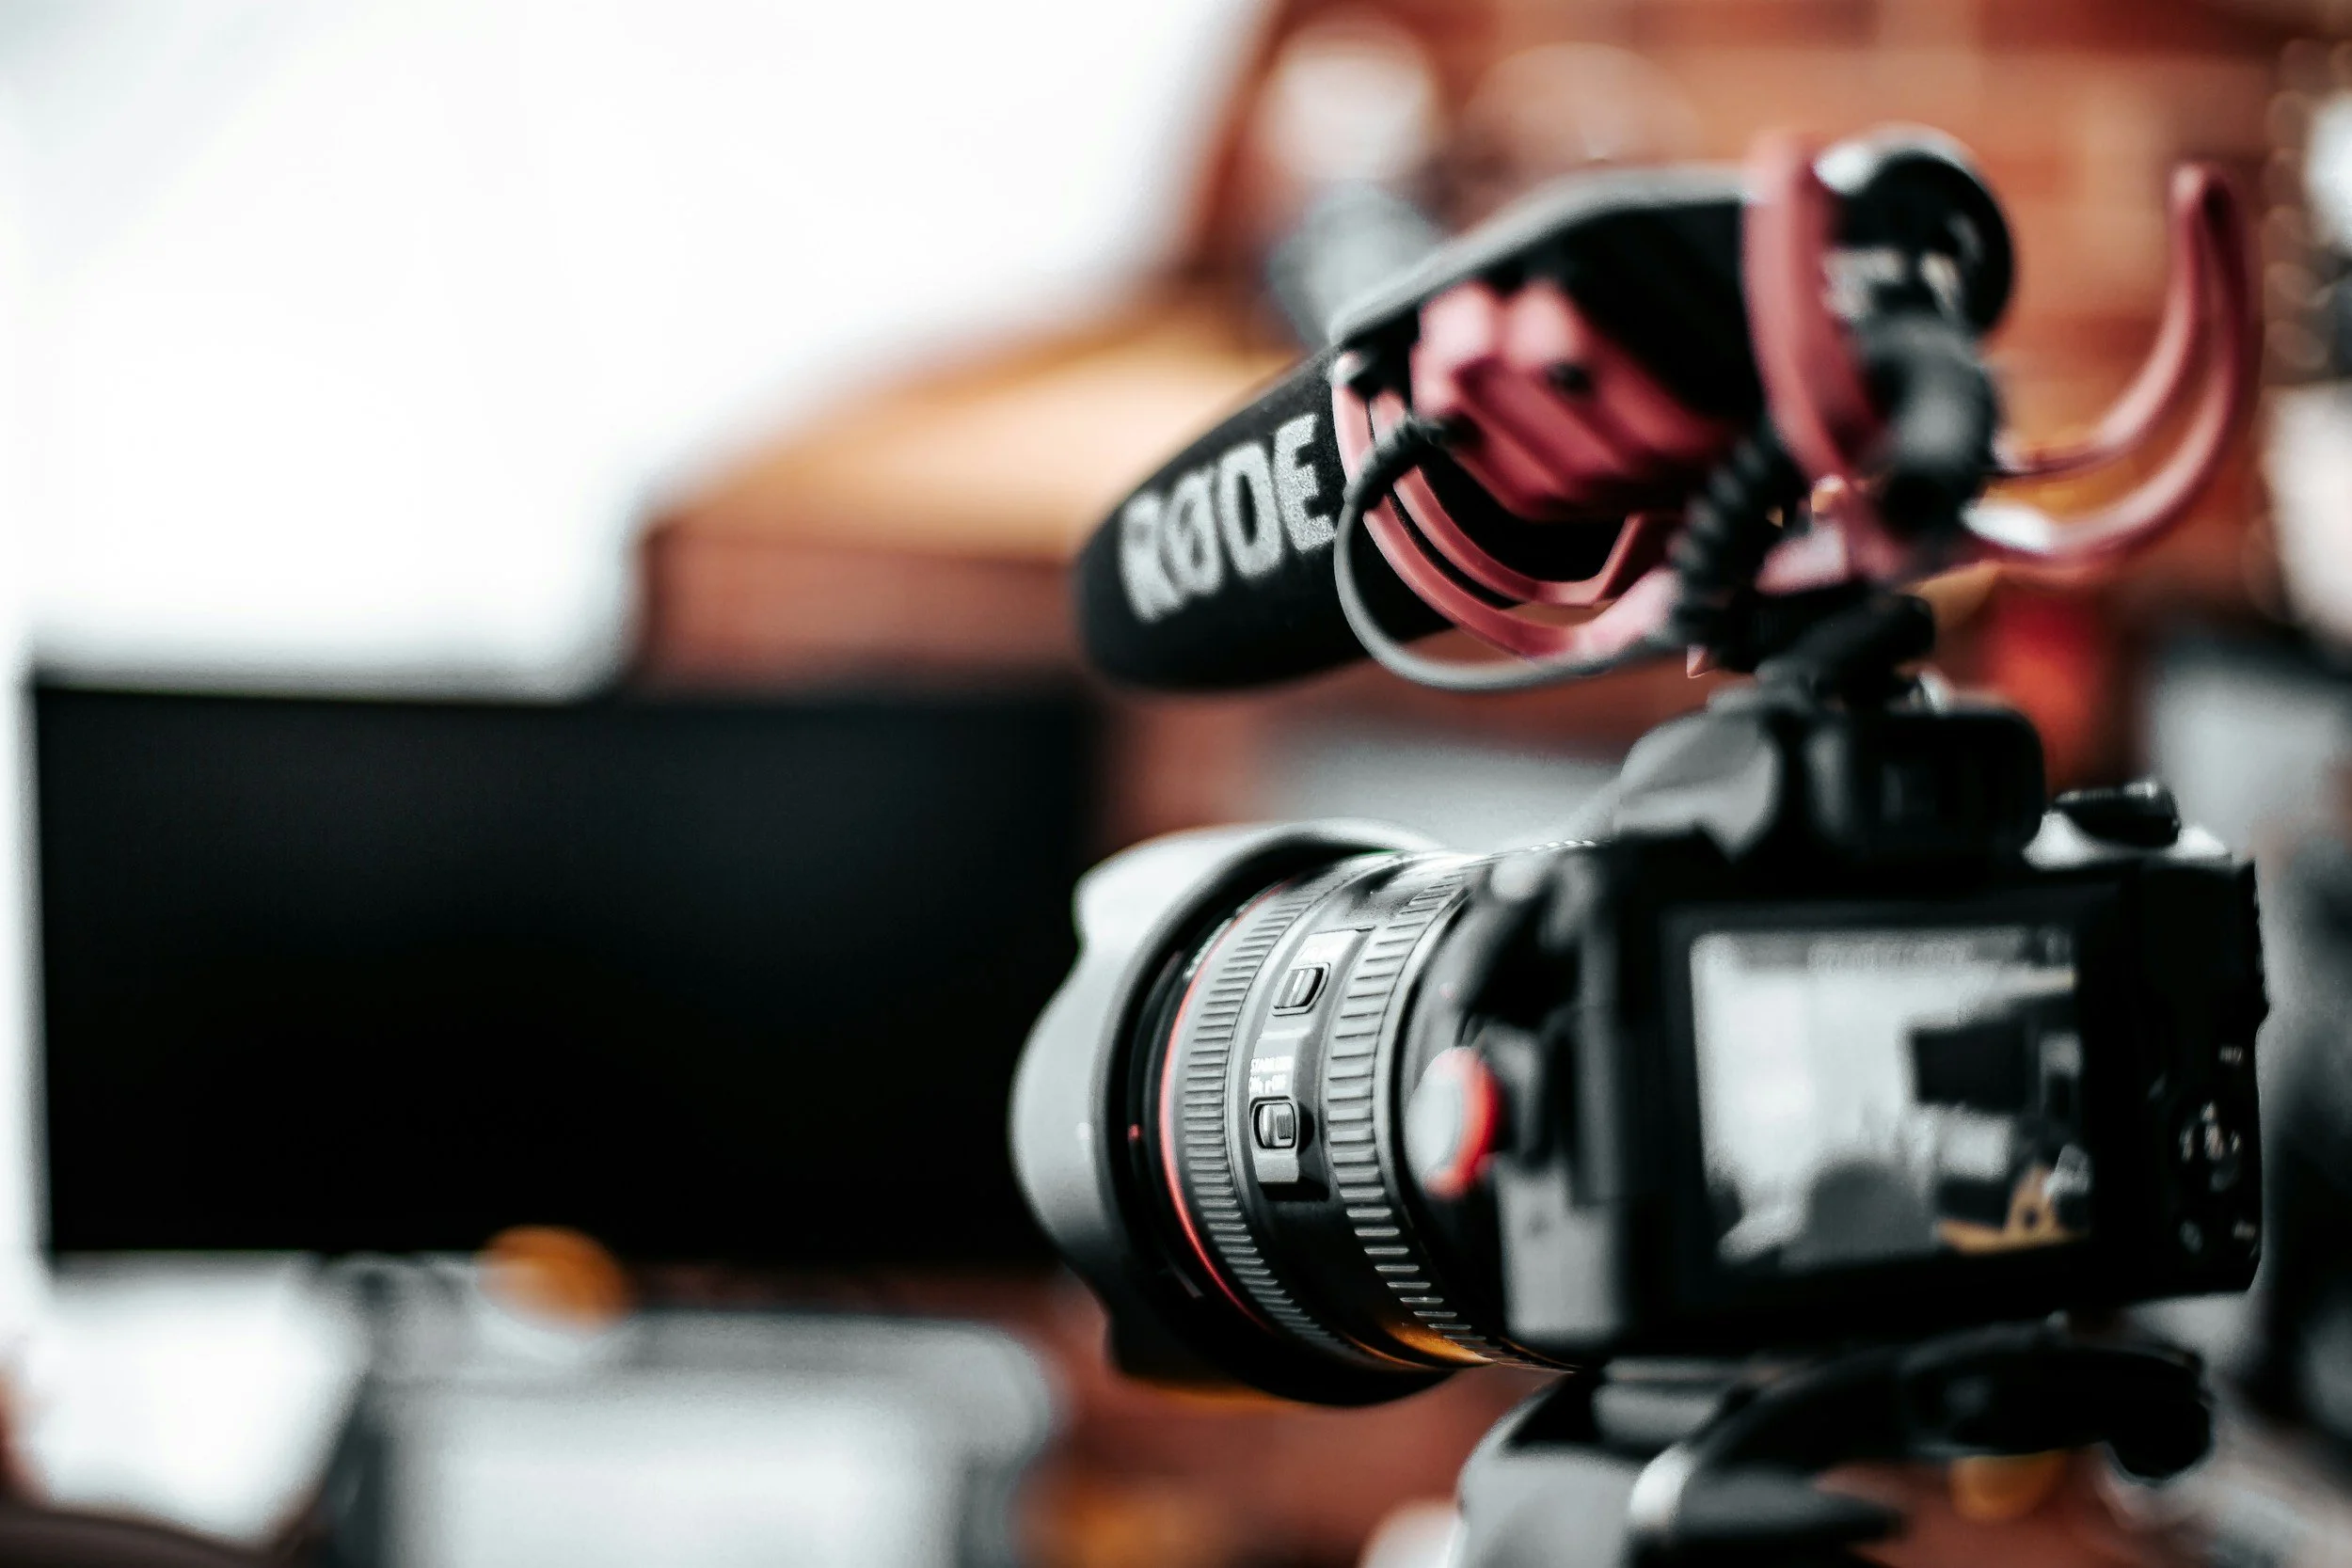
2-Minute Camera Settings Check (Simple & Practical Guide)
Before you press record, take a quick 2 minutes to check your camera settings. It may seem small, but this step can seriously improve your video quality and save you time during editing.
Start with Resolution & Frame Rate
Choose your resolution based on your project. 4K is always a safe choice if your device can handle it—it gives you sharper footage and more flexibility in editing. For frame rate, 24fps gives a more cinematic feel, while 30fps is smoother and commonly used for online content.

Set Your Shutter Speed Properly
A good rule to follow: keep your shutter speed at double your frame rate. So if you're shooting at 24fps, set it to 1/50. This helps your footage look natural, especially with motion.
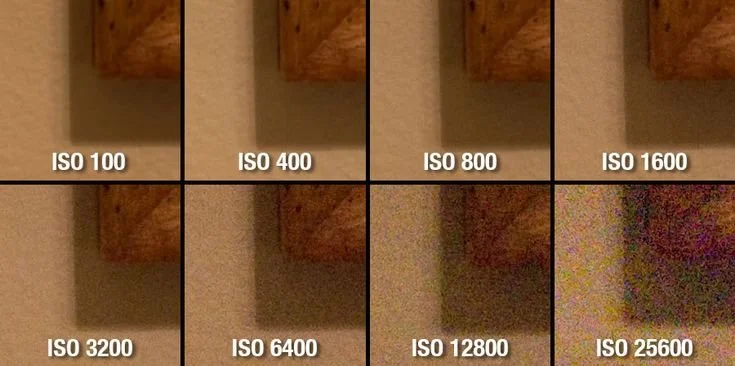
Adjust ISO Carefully
ISO controls brightness, but higher ISO can introduce noise (grain). Keep it as low as possible, and only increase it if your footage is too dark. If you can, fix lighting instead of pushing ISO too high.

Fix Your White Balance
Avoid using auto white balance—it can change during your shoot and mess up your colors. Set it manually based on your lighting (daylight, tungsten, etc.) so everything stays consistent.
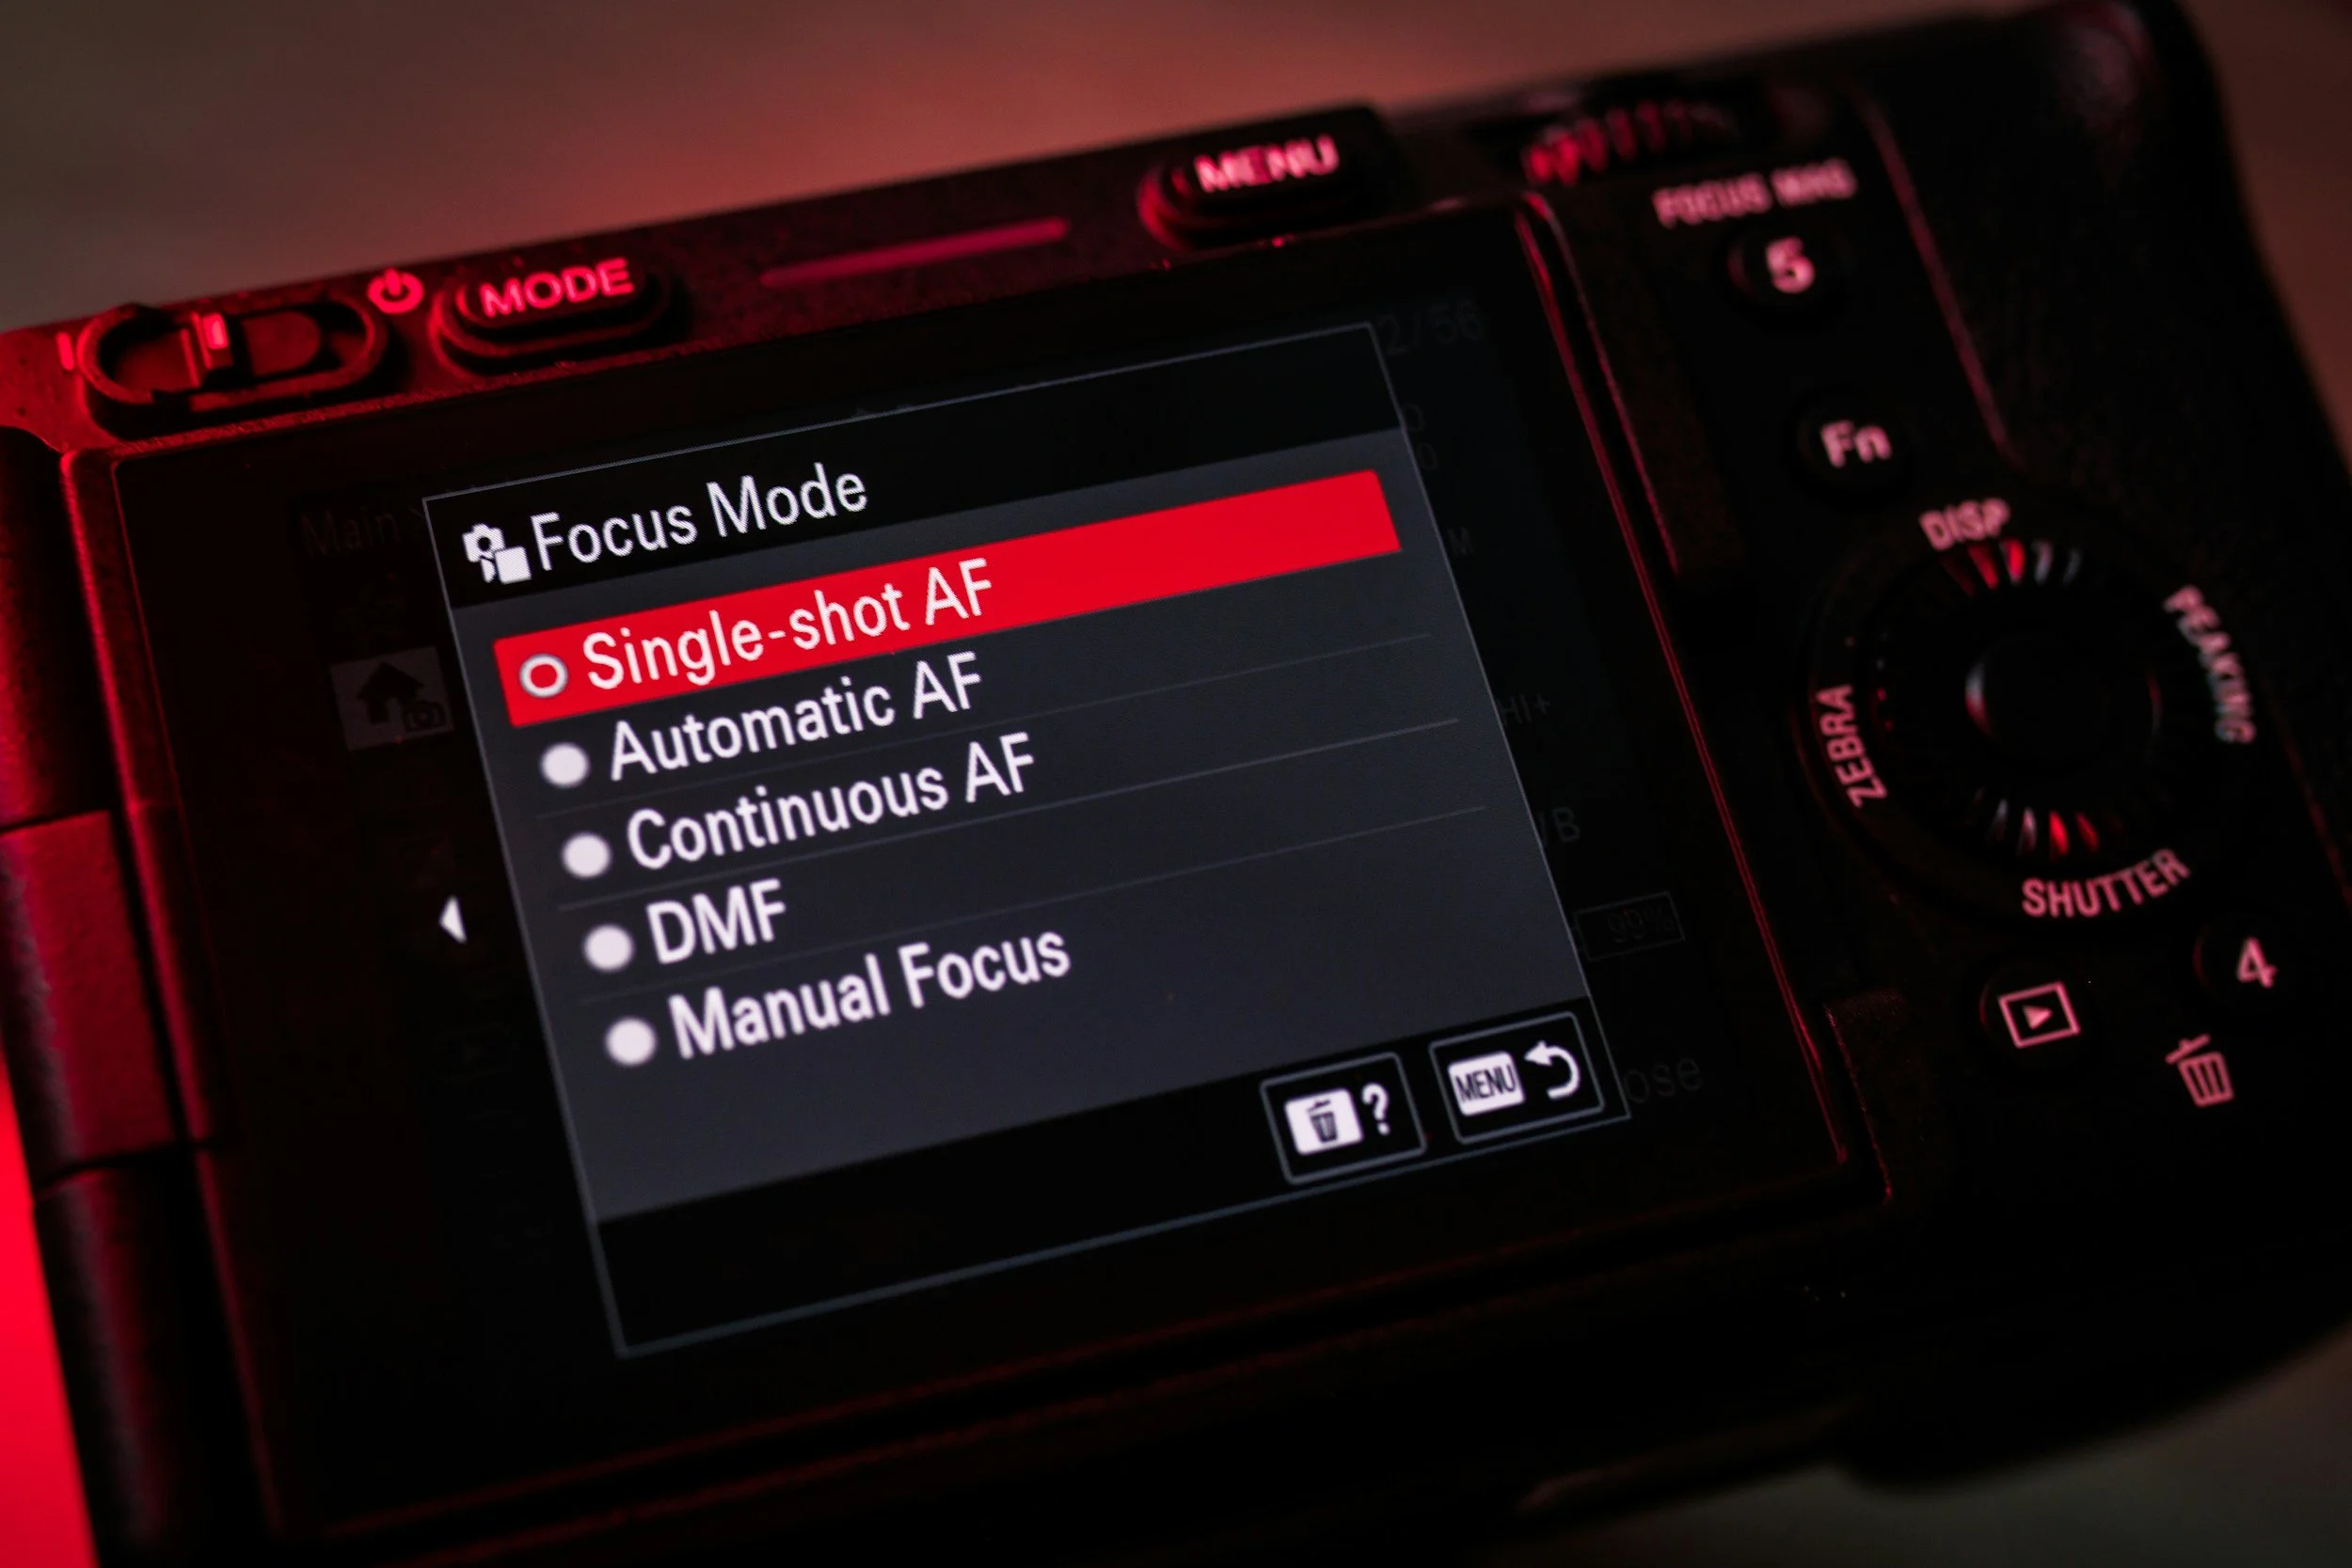
Check Your Focus
For more control, use manual focus—especially for interviews or static shots. This prevents your camera from randomly shifting focus while recording.
Final Quick Check
Before recording, do a fast review: exposure okay? colors consistent? focus sharp? If everything looks good, you’re ready to shoot.
Spending just 2 minutes on this checklist can make your footage look more professional and save you a lot of trouble later.